Happy Canada Day from Vancouver! I really miss Ottawa a lot today. Canada Day in Ottawa is one of the best celebrations I have been to, and if I am going to be in Canada on July 1st I really want to be there in the nation’s capital. I think this might be the first Canada Day I have spent in Canada NOT in Ottawa. SO WEIRD!
I started a new rotation at work last week in the stress lab. We put patients on treadmills and watch them sweat. It’s very busy in there and it was a pretty overwhelming week. I dropped a drop of MIBI on my shoe in the hustle and earned the nickname Hot Foot. I had to put my shoes in storage for two days until they were not radioactive any more. Haha.
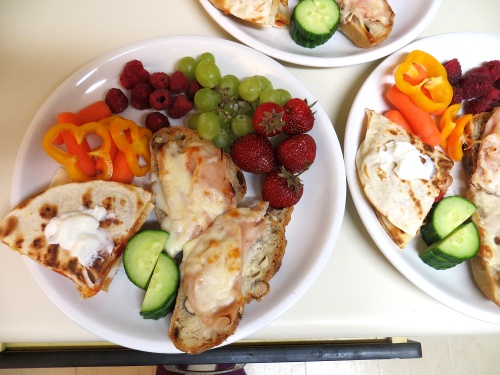
We had breakfast at Brioche with my friend Jason (who I camped with in Bowen, Australia) and his girlfriend. They were on their way to Vancouver Island to visit his family. My avocado, brie, and smoked salmon omelette was pretty tasty but the foccacia was super hard and it was kind of expensive. Booo.
The first day of the month seems like a good chance to review my summer goals list, so here we go……
- Finally paint the cheapo wooden drawers we got from IKEA.
- Make delicious popsicles in my new popsicle mold. once (strawberry lemonade).
- Go swimming in the ocean for the first time in Vancouver.
- Ride the rides at the PNE.
- Watch fireworks.
- Finish my Settlers paintings.
- Sell a pair of shoes or a shirt or a painting.
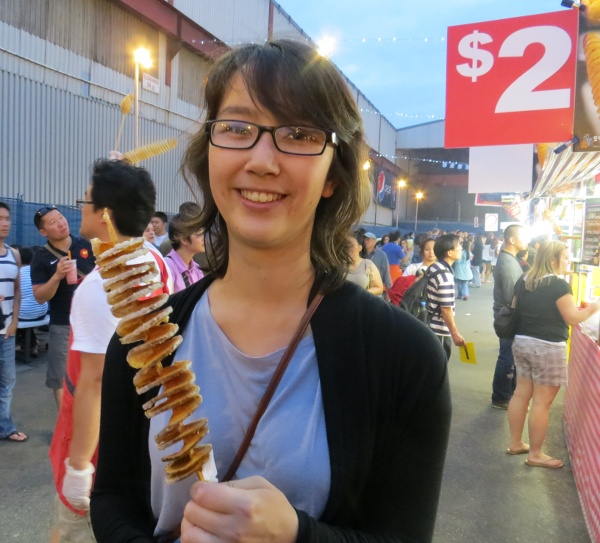
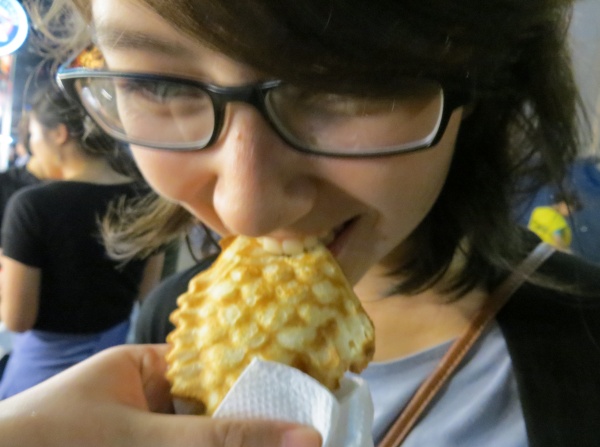
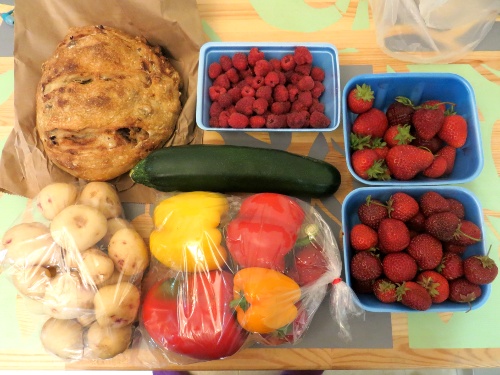
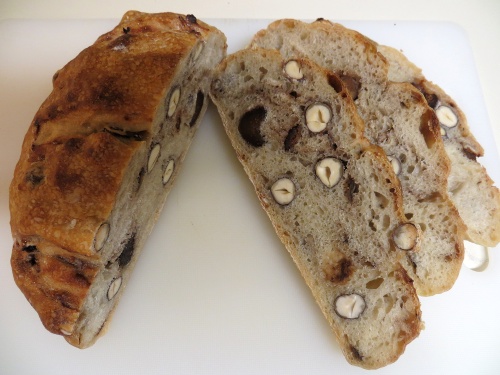
Go to one of the night markets in Richmond.already done! twice, actually!- Regularly visit the farmers market on Saturday mornings. once.
- Read some books while I actually have the time. reading Insurgent at the moment.
- Make a nicer looking menu planning board.
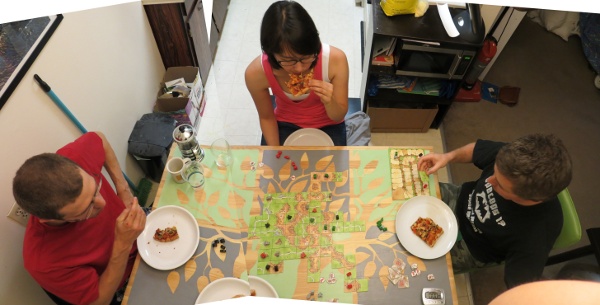
- Find a new person to play board games with.
- Try a new fruit.
Do a successful venipuncture on a real patient.I’ve done two so far.- Make a new blog header.
- Take more pictures.
Clearly I still have a lot to work on. I’m putting away my computer right now!