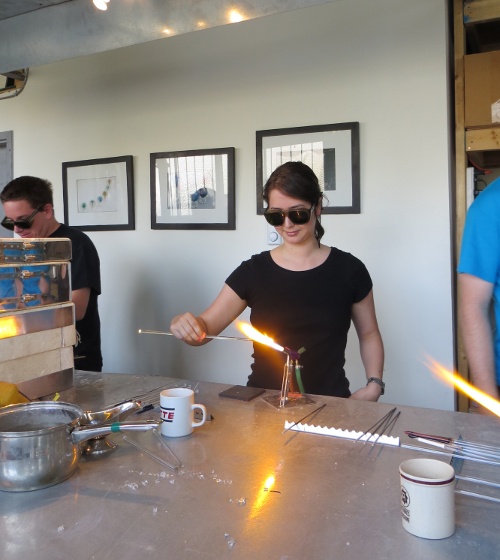
I completed another one of my life goals: working with glass. I got the groupon for an intro to glass class at Braden Hammond Glass for my birthday and I finally got to redeem it this weekend.
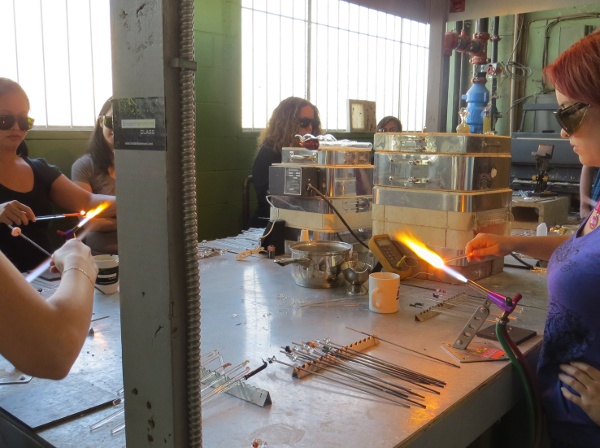
His apprentice did a cool demo where he made a pendant with a mushroom inside of it and then there was a safety talk and a demonstration of how to make beads. We were allowed to make as many beads as we wanted in the time we were there.
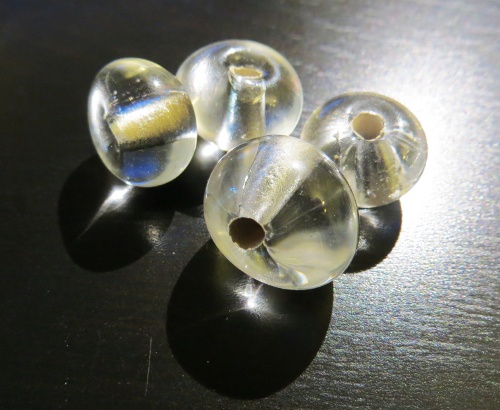
First we made clear beads to get the hang of the technique. It was much harder than he made it look. Some of our beads looked pretty crappy.
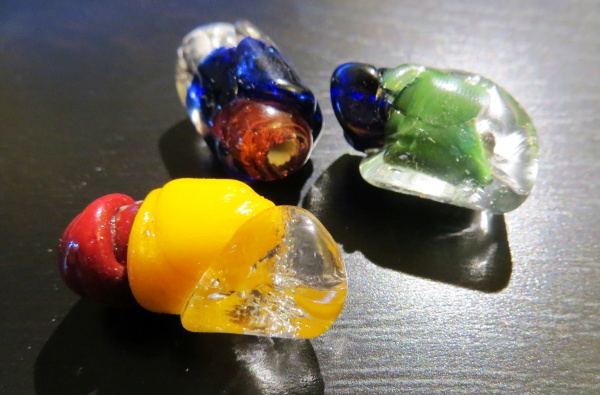
Then he showed us how to use the coloured glass, the shaping stone, and how to make dots.
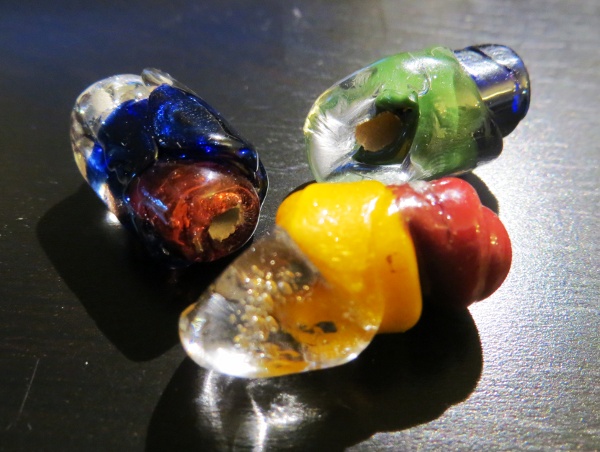
It was REALLY HARD to make the glass do what I wanted it to do. I think my beads look kind of neat but they were not what I imagined in my mind at all. Haha. All three of those were supposed to be something completely different and then just ended up as blobs of glass smushed down on the shaping stone. I still like them a lot though!!
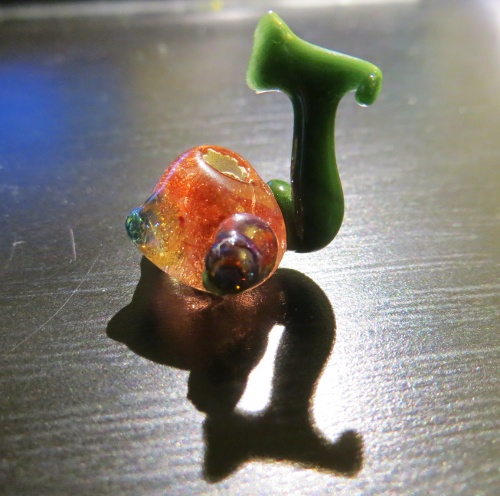
This one started off as a small bead with dots on it. Then my hand jerked and one of the dots attached back on to the metal stick. Oops. Now it’s a nice SHARP bead… yeah.
After you are happy with what your bead looks like you put it in a kiln to temper it and make it durable.
All in all it was awesome. I really appreciated that they were encouraging us to make lots of beads. He wasn’t stingy with the supplies at all.
Now that I’ve done the beginner class I am allowed to just book time at the studio to practice if I want. The supplies are fairly cheap. We also can now do the intermediate classes (one of them is actually glass blowing) but the problem is that they are super expensive. With the groupon the beginner class was pretty reasonable, but now the intermediate classes are like $200-$300. And the beginner class is $135 so a bit expensive for Scott to do it now, otherwise after that we could just split our supplies and book our own studio time to try and figure stuff out.
So I don’t know if/when I will get to do this again, but if you ever see a groupon for something along these lines I highly recommend it! (And please let me know too…)