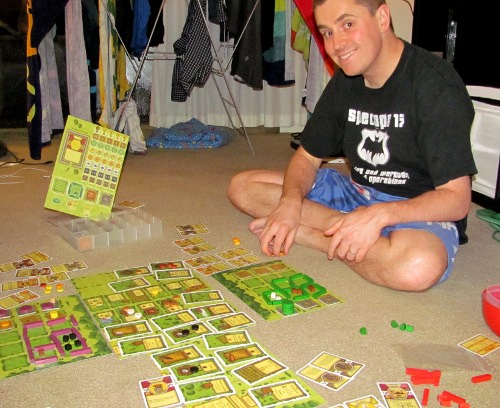
The party yesterday was a big success. Everyone from my class came except one guy. I had lots of fun! We talked and laughed and ate and played some drinking games. I think everyone enjoyed themselves. I don’t know how we’ll all survive not seeing each other 30 hours a week!!
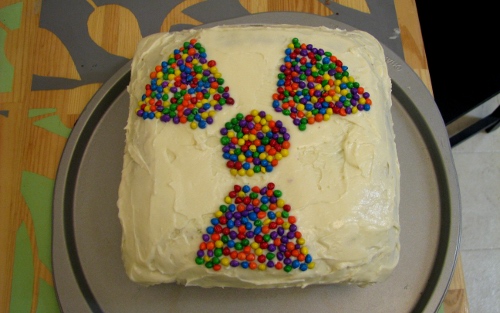
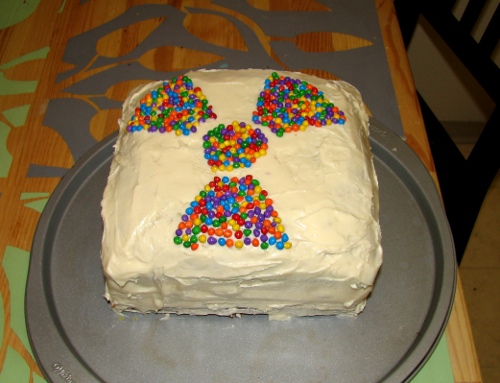
I didn’t study at all for math. Instead I made a cake! I love the cake, I think it was awesome. Even though the back collapsed under the weight of its own icing, hahahaha. I had to use a lot of icing to cover up all my mistakes. :D It was purple, green, and pink on the inside.
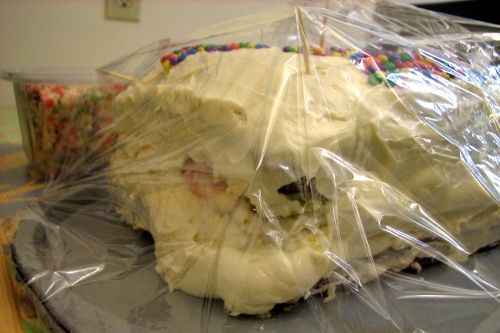
collapsed sides
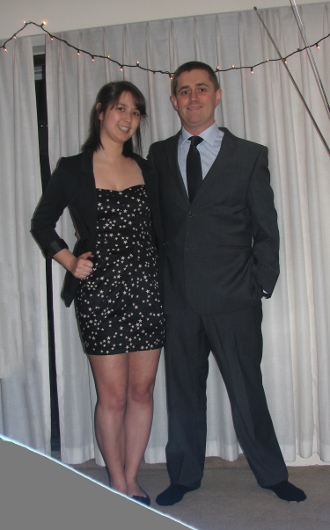
And I guess someone took some pictures with my camera? Ummmm this was the best shot of them all. Lol.
Oh and I’m pretty sure I aced the math final. Yessssss I love math. Math is in my blood. Study-schmudy.
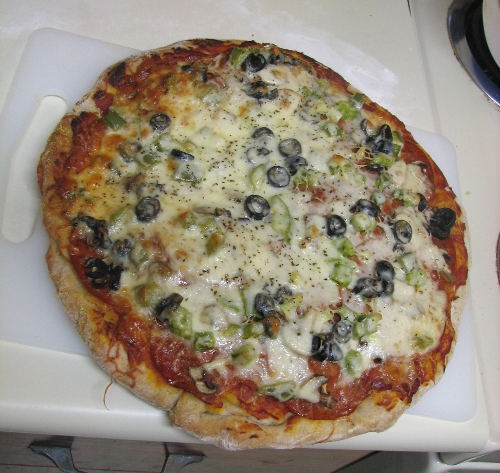
I also made peppermint Rice Krispie squares. Aka rice krispie squares with smashed up candy cane inside. They were good! We are having soft tacos tonight for dinner because we have lettuce and tomatoes to use up and avocados were only 67 cents this week and I bought two. Guacamole time!
I am 100% on holiday, and it feels so good. Time to get started on some homemade Christmas gifts!