We have been mega busy in the last four days. I’m pooped.
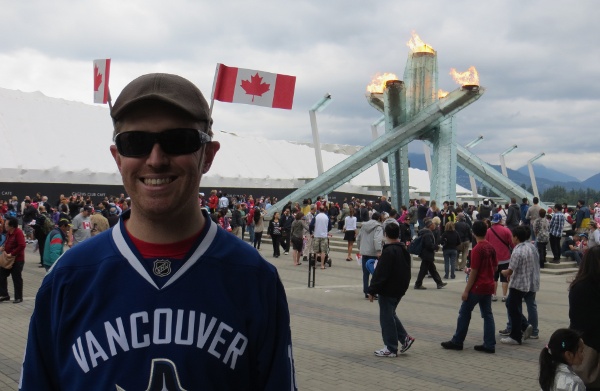
While Scott looks happy in this picture, Canada Day in downtown Vancouver was a disappointment. It was crowded and there was nothing good going on. There were some food carts but they were too expensive and there were trucks giving out samples of chocolate milk and stuff but the lines were too long. And the lumberjack show was too slow paced and boring. So we went home.
On the Monday of the long weekend Scott and I went mattress shopping. Our old mattress has just gotten too soft unfortunately, even though it’s only two years old. I have been waking up with a sore back for a while, from sleeping in a canyon, and Scott snores more now!!! >:( So we got a way more firm mattress on mega sale and it gets delivered on Sunday. I CAN’T WAIT. We checked out all the stores nearby to get the best deal.
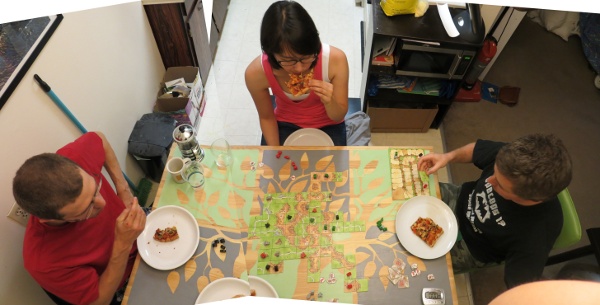
We also played many many games of Agricola over the weekend. THE BEST GAME!! Check out this game where Scott sucked so bad he lost 38 to 10. Even if you don’t know the game you can see how badly Scott did. He doesn’t even know what went so so wrong, hahaha.
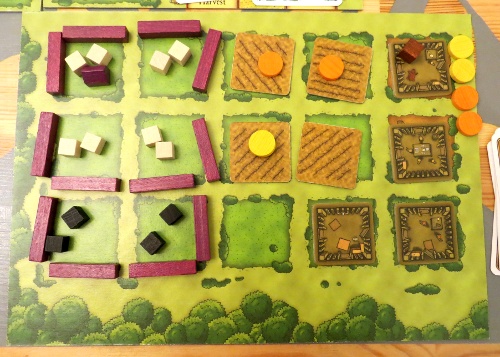
My board.
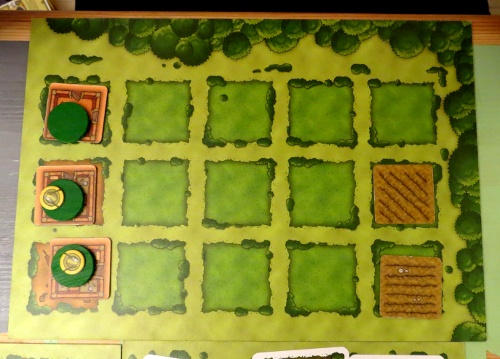
Scott’s board. HAHAHA.
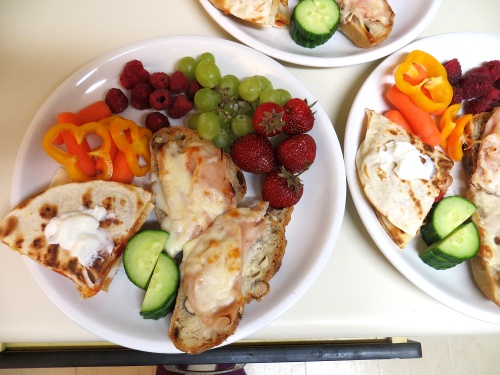
Tuesday was MY BIRTHDAY! We had a really good dinner at Phnom Penh. We had tons of food including their famous chicken wings and butter beef. My favourite dish of the night was the deep fried squid though… man oh man it was SO TENDER. That was the softest, non-chewy squid I have ever had. I don’t know how they do it! Unfortunately a lot of the dishes (including the squid) were extremely salty though so while I’m glad we finally tried it, I don’t know if I will go back again.
Rosemarie got me a nanaimo square cake and Scott made cookies. I got awesome presents this year including Ticket To Ride from my Aussie family, and a Kindle from Scott!!! I am spoiled!!!
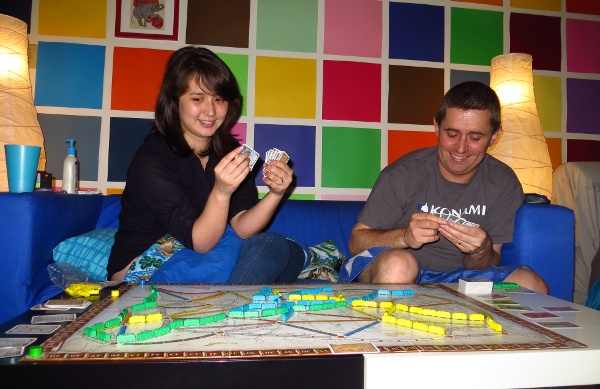
Us playing Ticket To Ride on my birthday. Rosemarie won.
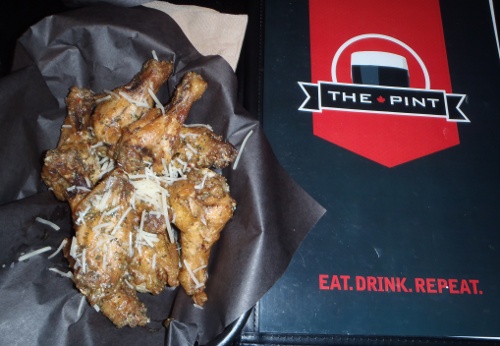
Then yesterday was Rosemarie’s goodbye party. I had parmesan and herb wings and a cocktail called a Rocket Pop. It was good but I think I ate too fast and felt really nauseous so that’s all I had. Rosemarie had a lot of friends show up. I think it was a good goodbye party for her.
I’ve still been having to wake up at 5:45 AM for work this week too, but tomorrow is the last day of that for a while. I don’t think anyone should ever have to wake up at anything before 6:00 AM. Cardiac stress lab has been my hardest rotation so far. There is lots of stuff happening and the same time and you don’t really get to stop moving until the afternoon. I’ve done 5 injections so far but that’s it. Not the right rotations to do a lot of injections unfortunately. And next week won’t have many either. Boo.
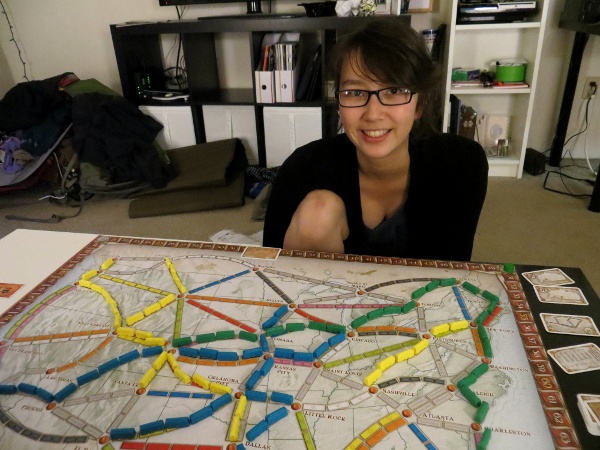
ANYWAY that’s me all caught up I think! I’m looking forward to this evening bumming around with Scott and playing some more Ticket To Ride once Rosemarie gets back from her errands.