I think my allergies are over. I did not have any symptoms for the last three days. Woohoo! Maybe I’ll have the same issues next year but at least now I know what to do (DRUGS!!).
I water marbled my nails last night while watching Jaws with Scott. I like the patterns I made but I think the colours are ugmo. I didn’t get to use the colours I wanted because all of my cheapo nail polish has become quite globby. Globular. Glob-tastic. It’s over a year old now, I guess that’s what you get for $2/bottle.
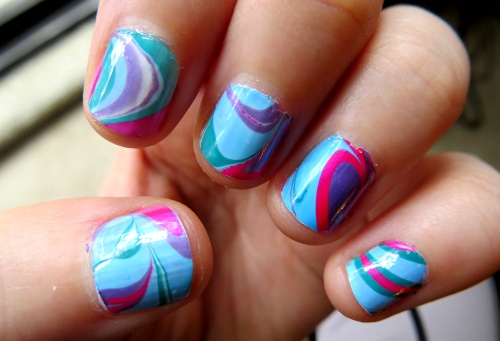
I’ll probably remove it pretty soon. Long weekend coming up so maybe I’ll try again then. Can I thin nail polish? They’re pretty much garbage at this point so I might as well try.