OK I’ve got a whole hodge-podge of pictures and stuff to show you from the last couple weeks.
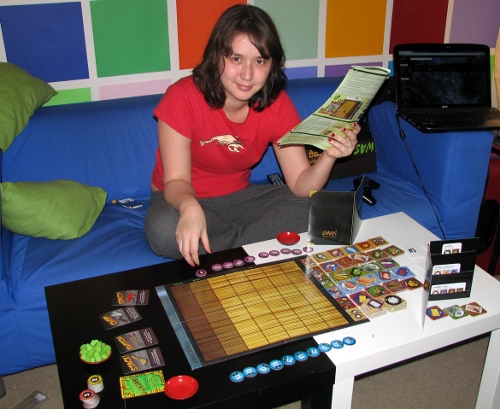
Here is me, trying to figure out how to play Wasabi, after receiving this game for Christmas. Luckily it is not too hard to learn.
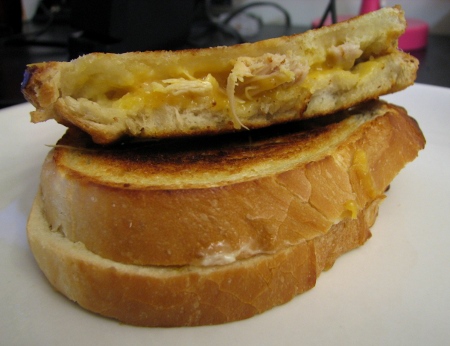
After Christmas dinner I made sourdough turkey cheddar grilled cheese sandwiches for our lunch. Mmmmm sourdough bread is so nice. These sandwiches were delicious.
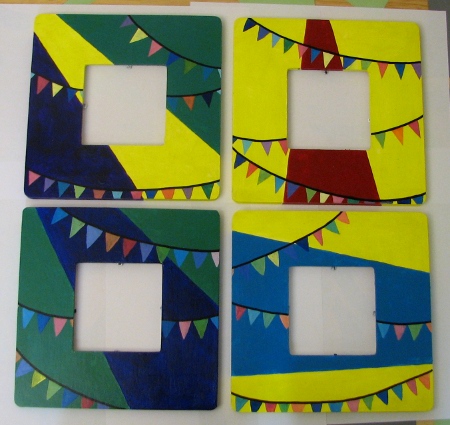
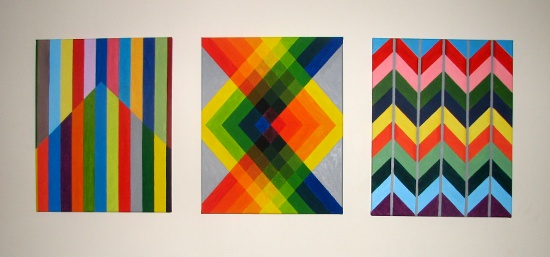
I painted picture frames to bring home for gifts. I got the frames for $1 and painted them with acrylic paint. I also had some varnish left over from something so I got to make them nice and shiny. Here are my bunting frames.
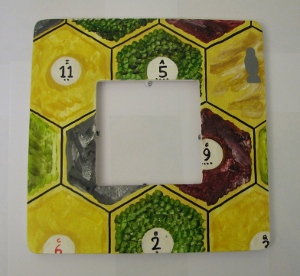
I also made a Settlers frame for Natasha and Richard.
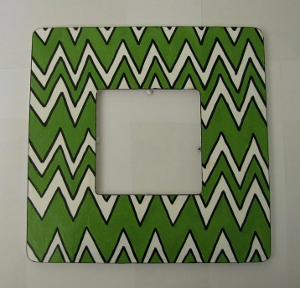
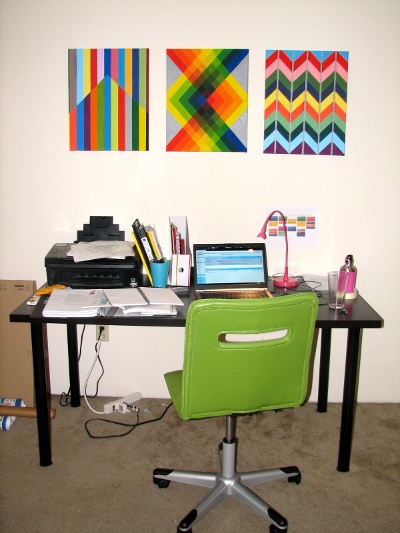
And this is the chevron frame I made to match Cassia and Pablo’s apartment. I am really pleased with how this one turned out.
I forgot to give out the little sticks to put in the back of them to stand them up. I will mail you guys the sticks, ok?! Oops.
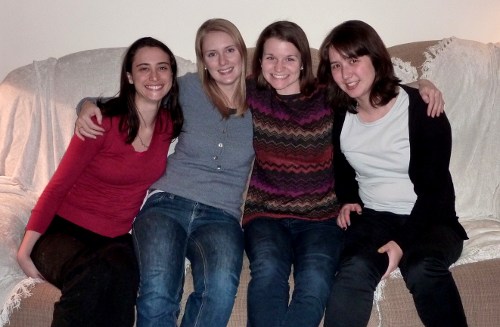
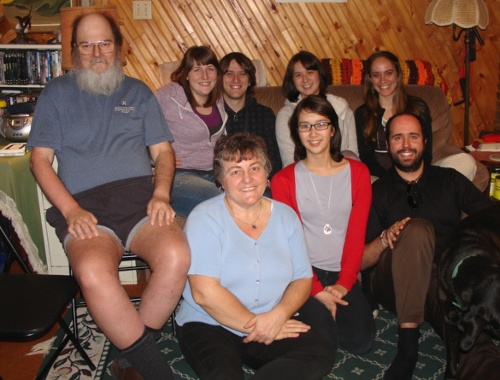
Here is the Ace Gang, at Leslie’s house. The first time we were all together in several years.
After New Years we all trekked out to Jac and Laurie’s house. They live 75 km from us!! It had been a long time since I had been to their house. It was lots of fun, we ate yummy tacos and talked and laughed and told old stories. We even Skyped with the Monnon’s in Florida. Laurie showed us some funny pictures of all the animals she took care of, and we even found a bunch of pictures of our parents. Even Natasha and I were in some of the pictures, as little babies.