While many of you may not care whatsoever about nail polish, water marbling has been the number one search query for people winding up on my blog from Google, so there must be some kind of demand!
I water marbled my nails last weekend and took a bunch of pictures so that I could have a go at writing up a tutorial, including some of the tips and tricks I have picked up during my VAST EXPERIENCE (3 times).
Let’s get started.

MATERIALS
- A cup/container you don’t care about. It will get nail polish remnants all over it. I use a sour cream container.
- Masking tape
- Scissors
- Lots of toothpicks
- Q-Tips
- Nail polish remover/cotton pads
- Base coat (optional). I use a base coat because my nails got kinda mushy a while ago. Gross.
- Top coat (optional). For a top coat I highly recommend Seche Vite. You can put it on when the nail polish is still wet and it dries everything up super fast. Plus it’s really nice and shiny.
- White nail polish. I use Sally Hansen Xtreme Wear in White On (#300). It is kinda gloopy but it’s good enough that you only need to do one coat, plus it only costs $3.49. I forgot it in the picture so I Photoshopped it in for you guys. I DO NOT recommend Sally Hansen Complete Salon Manicure in Polar Bare (#120) because it is expensive and it’s really thin and sucky.
- Lots of other colours of nail polish. Up to you how many you choose and what colours. All the Sally Hansen Xtreme Wear ones I have work really well for water marbling, plus like I said they are cheap. When they go on sale next I am going to buy every colour!!! Sally Hansen Complete Salon Manicure colours seem to work well. Sparkly/shimmery nail polishes do NOT work as well, and neither did those Wet n’ Wild ones in the picture that I got for 44 cents. Other than that I haven’t tried anything else. Feel free to let me know what works or doesn’t work for you.
INSTRUCTIONS
1. Put on your base coat. Optional.
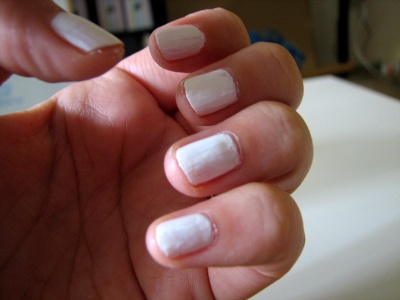
2. Paint your nails white. It is not super important to get perfect coverage, but you want a nice white blank surface so that the relatively thin layers of coloured nail polish show up nice and bright. I do one coat with my Sally Hansen Xtreme Wear White On.
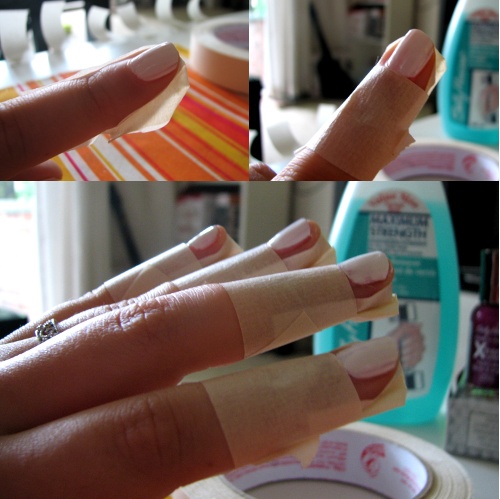
3. Mask the skin around your nails. *This is just the way I do it and it’s not even that great. If you have a better method PLEASE LET ME KNOW* First I put one piece of masking tape from side to side on my finger. Get it as close to the sides of your nail as possible and as tucked up underneath your fingernail as possible. With the shape of my fingers this is not that possible. Then use a second piece of tape to wrap around your finger tightly to secure everything down. Put that strip right up to the base of your fingernail. I usually mask one hand at a time.
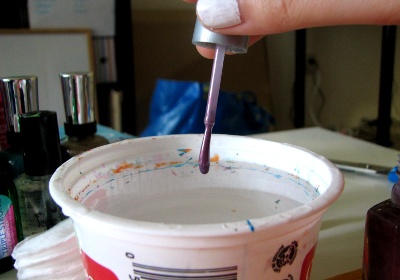
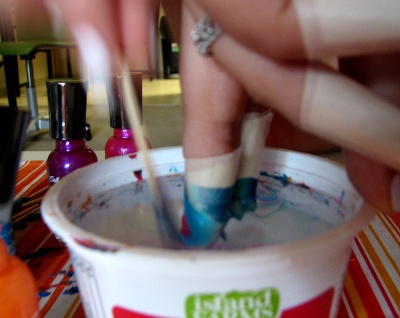
4. Time for the fun part!! Fill your container up with water (lukewarm! not too hot, not too cold). Then drip nail polish onto the surface of the water. Once the drop hits the surface of the water it will spread out really quickly. That is what you want. If any of your drips do NOT spread out that means the surface of your water is too dirty and it will not work out. Time to clean it up and/or refresh your cup of water. Anyway back to dripping. I usually drip two drops of the same colour in a row because I like my colours nice and vibrant.
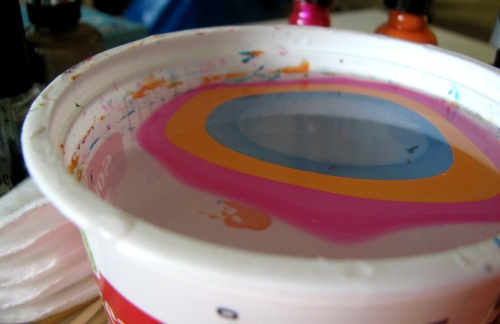
5. After your first colour, drip some more, so you end up with a colourful target-like coating on the top of the water like in the above picture.
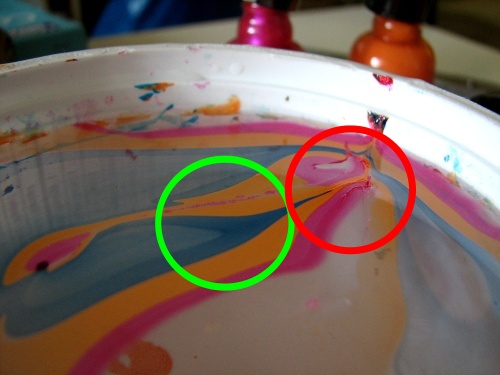
6. Use a toothpick to gently swirl the nail polish around until it makes neat patterns. This will take some practice. The area in the green circle above is the kind of swirling that you want–nice and smooth and clean. The area in the red circle is what you DO NOT WANT–the nail polish has bunched up and gone cruddy. This will look ugly on your nails. You also have to work fairly quickly because the longer you wait the more it bunches up. Ah but you are only going to dip your finger in one or two spots so it’s ok if one part gets bunched up, you can still use the other parts!!
Sorry for the next three blurry pictures. I need a third arm.
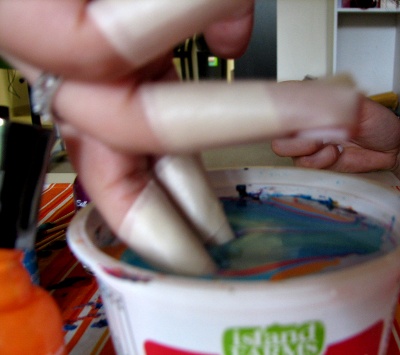
7. Dip your nails in the exact part of the swirly pattern that you like the most. I struggle to do more than one nail at a time like other people do so I often just do one at a time. I like to approach the water verrrry slowly and precisely with my face really close so I can see that my nail is actually going where I want. Once it’s in though put it right in. DO NOT let your finger come out of the water!! DO NOT let your finger touch the bottom of the container.
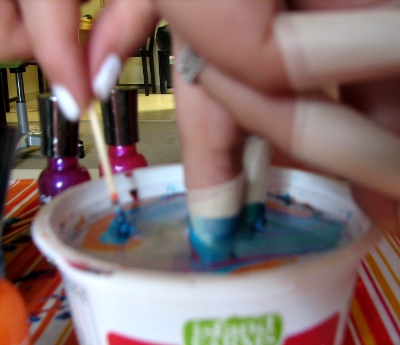
8. Wait a minute with your finger submerged in the water for the nail polish on the surface to dry up a bit. Using your other hand pick up all the extra nail polish on the surface of the water with a toothpick.
9. When all the nail polish is picked up, you can take your fingers out of the water! Admire your work!! (Ignore all the nail polish on your skin.)
10. I suggest waiting a minute, THEN gently and very carefully removing the masking tape. Ugh so many times I have messed my nail up in this step, so annoying.
11. I wait another minute or two and then do a quick coating of Seche Vite top coat. Man I love that stuff.
12. Repeat steps 3 to 11 for you other hand!!!!!
13. Later, when the nail polish is totally dry, I start to remove all the nail polish on my skin. You can do this with q-tips or orange sticks and nail polish remover but I am not a big fan of using that drying stuff on my skin so I usually just have a shower. I find that between washing my hair and gently scrubbing at my fingers under the shower-head I am able to get most of the extra polish off.
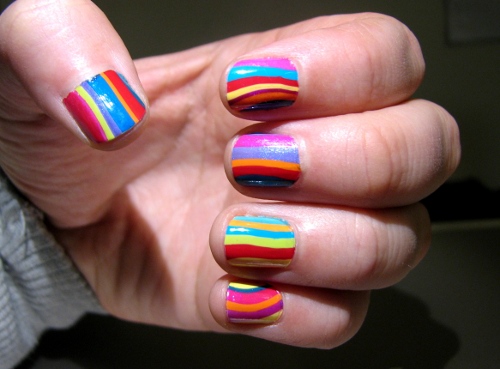
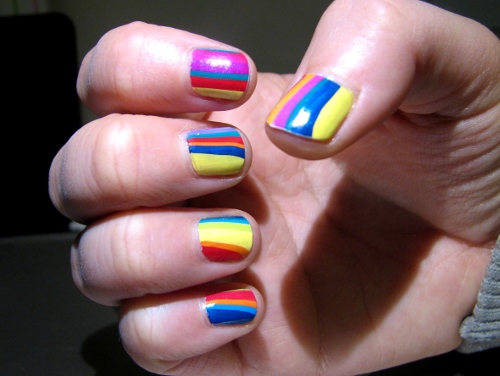
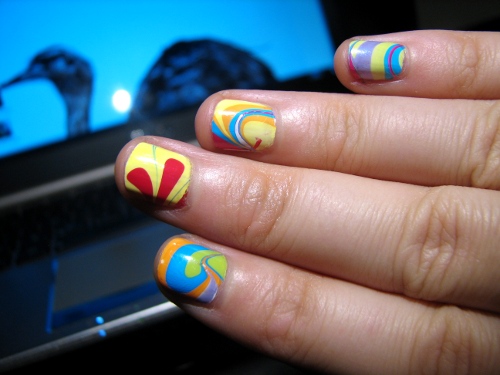
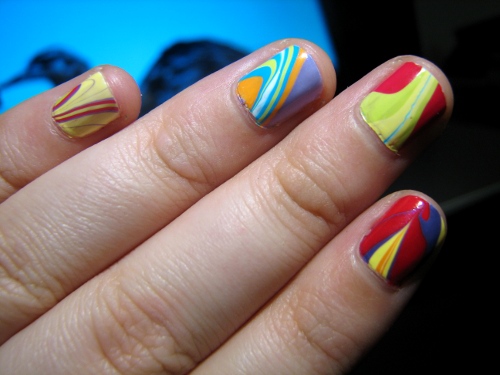
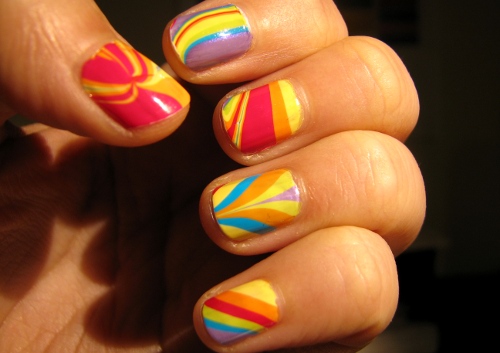
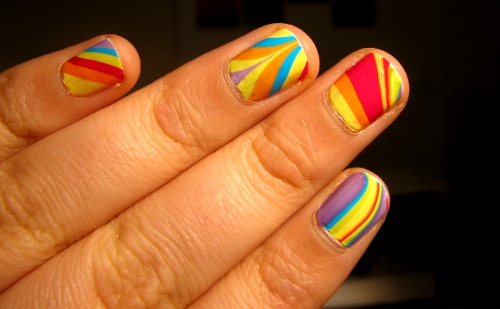
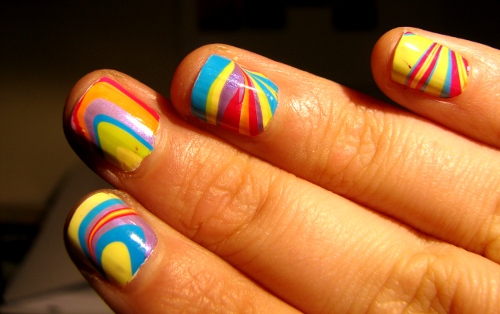
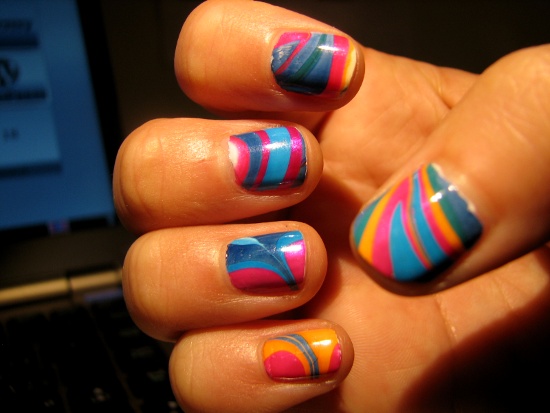
DONE! Voila!
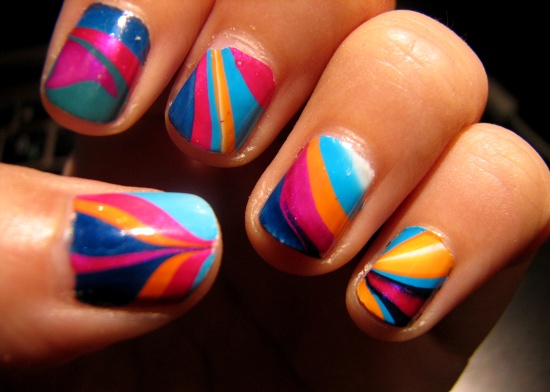
This process definitely takes some time and practice, especially if you mess a nail up and have to start right from step 1 again, like I do so many times, but I think it’s worth it! I love how interesting each nail can end up, and how smooth and nice it looks. People often comment on my nails when they are like this and think they are stick on nails!